


Description
Quality content is essential for enhancing your website’s search engine rankings. Autocontent creates blog posts tailored to your website’s preferences by transmitting your preferences to the Autocontent service to generate blog content.
Installation
Automatic Installation (Recommended)
- Log in to your WordPress Dashboard.
- Navigate to the ‘Plugins’ menu.
- Click ‘Add New’.
- Type ‘Autocontent’, click ‘Install Now’ and activate it.
- You will be automatically redirected to the Autocontent Setup Wizard.
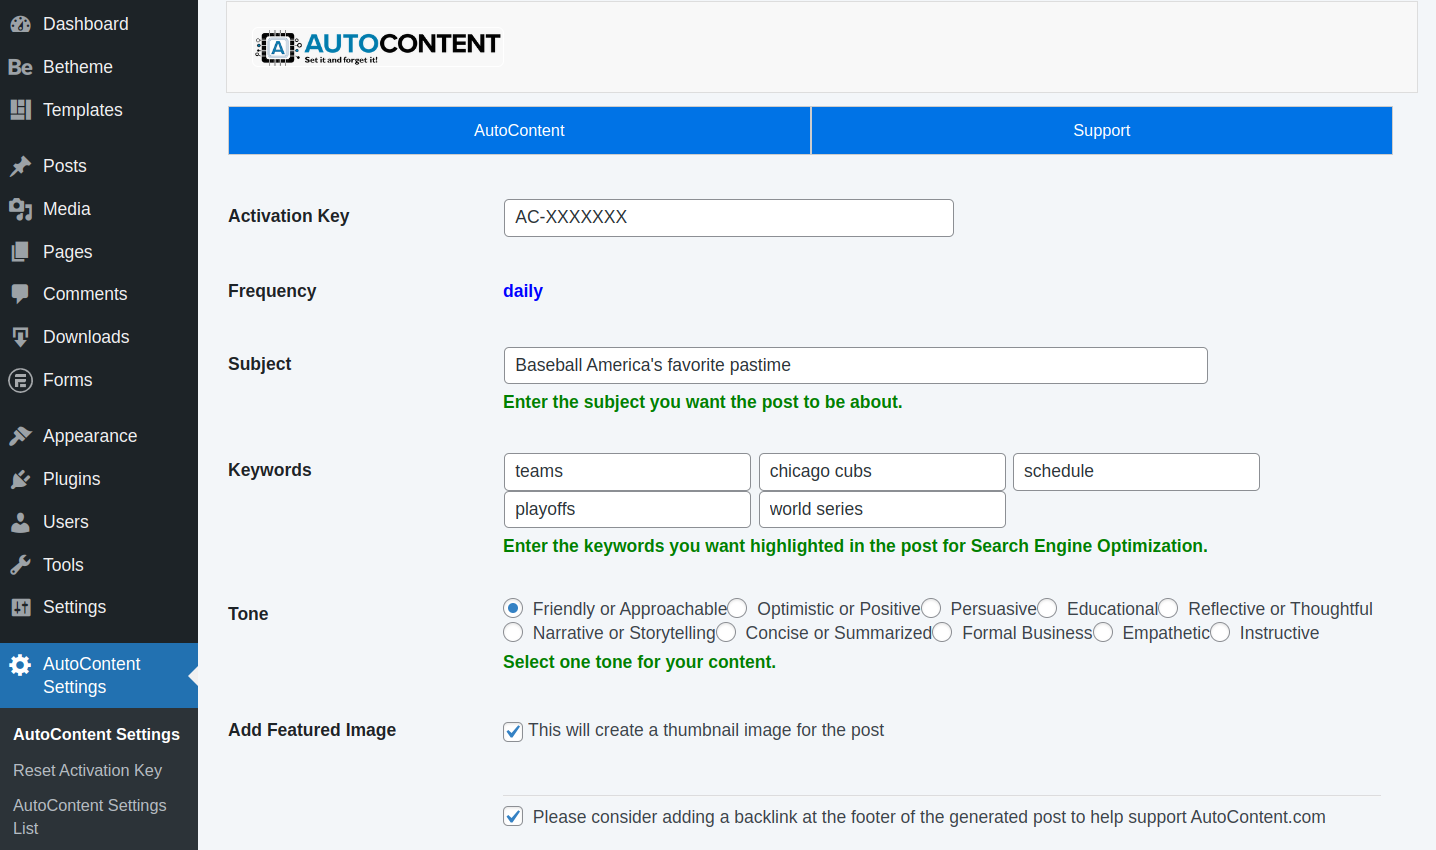
- Fill out the subject and keywords fields, then select the appropriate tone for your desired blog posts.
- Click ‘Save Changes’ once you are done.
- Next, click ‘Generate Post Now’.
- That’s it! Click the link to read your new post.
Manual Installation
- Visit the Autocontent plugin page here
- Click the blue ‘Download’ button on the top-right of the page.
- Log in to your WordPress Dashboard.
- Navigate to the ‘Plugins’ menu.
- Click on the ‘Upload Plugin’ button at the top of the page.
- Click ‘Choose File’ and browse to the zip file you downloaded in step 2.
- Click ‘Activate’ under the Autocontent plugin in the list.
- You will be automatically redirected to the Autocontent Setup Wizard.
- Fill out the subject and keywords fields, then select the appropriate tone for your desired blog posts.
- Click ‘Save Changes’ once you are done.
- Next, click ‘Generate Post Now’
- That’s it! Click the link to read your new post.
Upgrade Instructions
- After installing Autocontent, by default you will be on the Free Plan.
- To upgrade, click Upgrade on the Autocontent Settings page in your WordPress Dashboard, or visit autocontent.com/pricing.
- Choose Autocontent Premium ($25/month or $225/year) and click Purchase.
- Complete checkout. Your autocontent.com account is created for you automatically.
- Your Activation key is shown on the order confirmation page and emailed to you along with your login details. It is also available in your autocontent.com Dashboard.
- Paste the Activation key into the Autocontent plugin’s Settings page and click Verify to activate Premium and start generating content.
FAQ
How Do I Activate Autocontent?
Simply download, install and activate the plugin. You will be automatically assigned an activation key for the free plan.
How Do I Upgrade?
Click Upgrade on the Autocontent Settings page, or visit our Pricing page, and choose Autocontent Premium ($25/month or $225/year) for fresh content posted daily plus twenty WriteNow credits.
Screenshots
Changelog
1.39
- New “Upgrade to Premium” button on the Settings page.
- Generate Blog Post Now now explains why a post could not be created (for example missing keywords, no credits left, or a temporary service problem) instead of always reporting insufficient credits.
- Clear message when an Autocontent Premium subscription has ended, with a reminder to renew.
1.38
- Redesigned upgrade window: Monthly/Yearly toggle (save 25% yearly), clearer pricing and features, and a “Get Premium” button.
- “Already subscribed? Enter your key” is now a clear button, with a matching key screen and a way back to the plans.
- Plugin scripts and styles now update in the browser right after a plugin update (no more stale cached copies).
1.37
- Upgrade window now offers Autocontent Premium at $25/month, or $225/year, matching autocontent.com pricing.
- Settings page shows “Autocontent Premium” for the daily plan.
- Removed the retired Starter and Pro plans and their weekly/biweekly schedules. Plans are now Free (monthly) and Autocontent Premium (daily).
- Updated upgrade instructions for the new checkout flow.
- Tested up to WordPress 7.1. Requires PHP 8.2 or later.